A lovely spring salad is one of my favorite things to have for lunch come springtime. I find that my energy levels are much higher when my fruit and veg intake is higher during the day. This Bright Spring Salad with Pecorino is exceptional with it’s bright flavors and depth…
Author: gree8956
Hi! I'm Ashley. When I had my first daughter, I started thinking more about how the things around us affected her little mind and body. I started doing research...LOTS of research...and realized that some things in our lives needed to change. Since then our family has been on a quest to "green up" our lives, a little bit at a time.
Easy Non Toxic Sink Cleaner {Green Household Cleaners}
When we moved into our new house, I just had to come up with a homemade recipe for a non toxic sink cleaner. Our sink was downright disgusting…as in “never been cleaned” gross! Naturally, I had to do something about it without busting out the old toxic cleaners. So I…
Coconut Oil
Read more
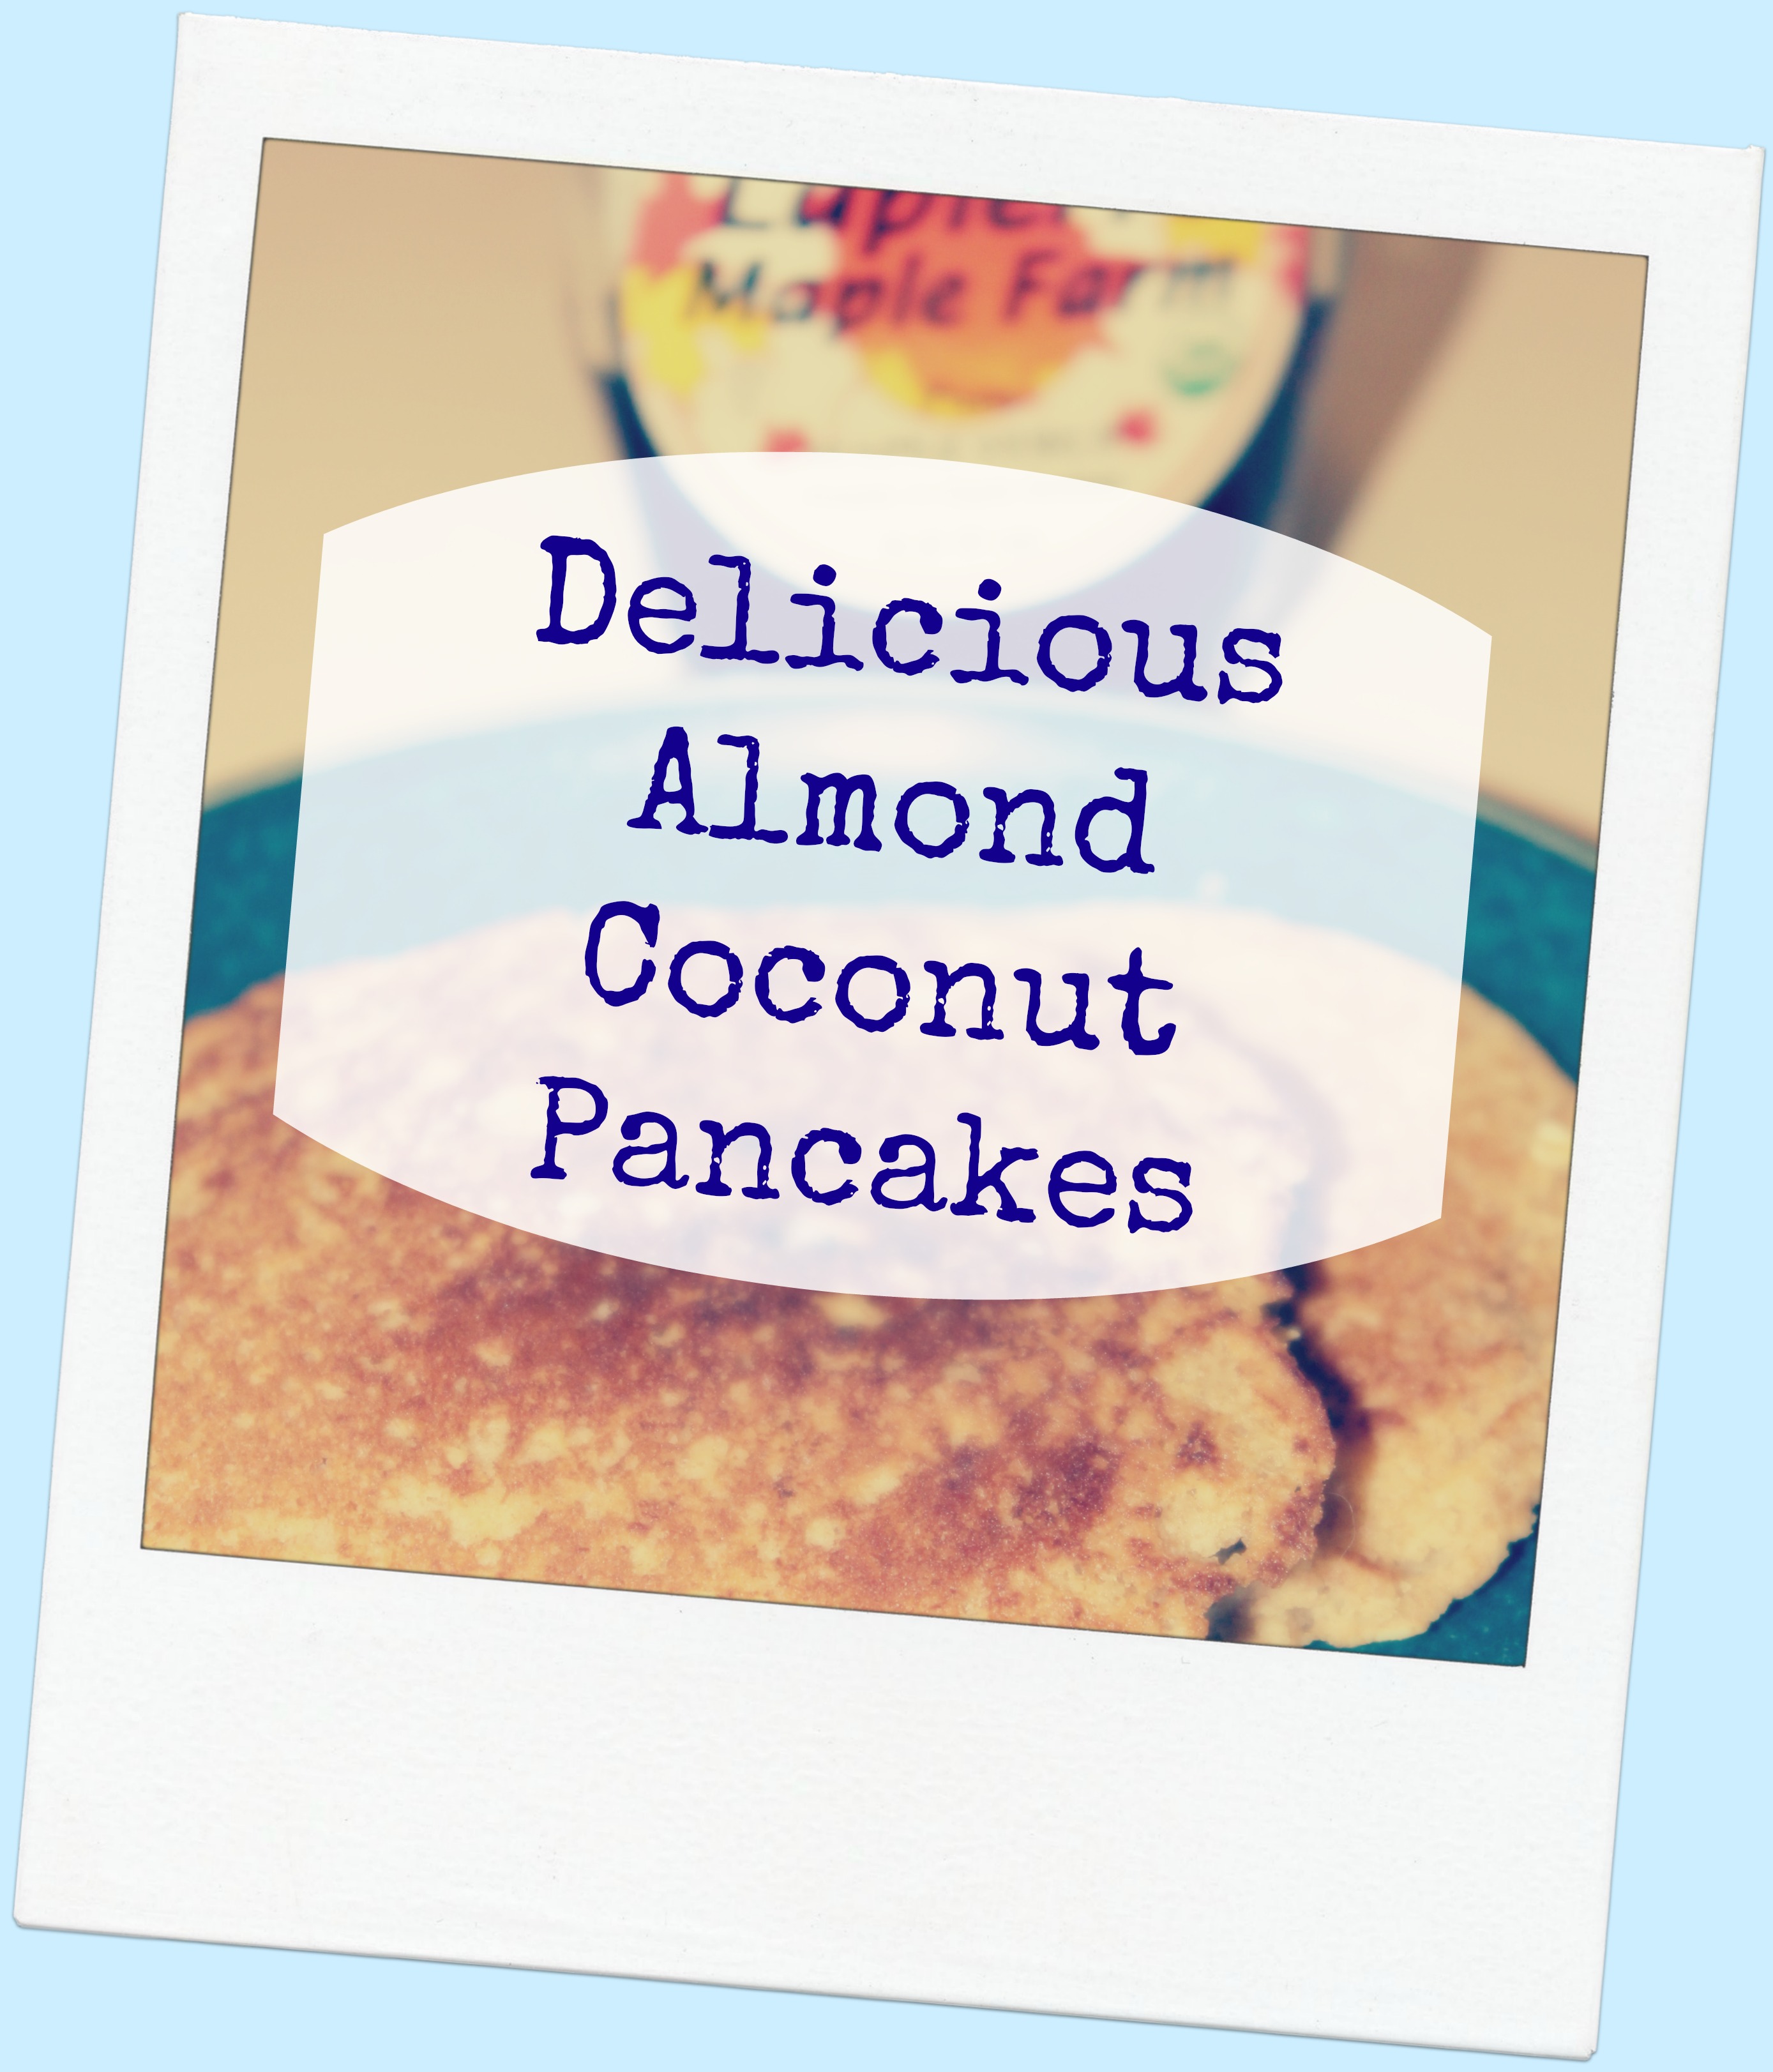
Almond Coconut Pancakes Recipe
I took my very favorite pancakes and re-invented it into this delicious healthy almond coconut pancakes recipe. The results are scrumptious! These are a great way to sneak nutritious ingredients into breakfast for picky kiddos. I now make the dry portion in bulk for my own super fast homemade baking…
Going Green Tips

Read more
Glu6 Eco Friendly Glue {Eco-Product Review}
When Glu6 contacted me about the possibility of doing a product review for their eco friendly glue, I was really excited. I’ve been searching for a glue alternative for a while without much luck. I was able to test 2 different Glu6 products, the paste and the gel. This review…
SPOONK Organic Hemp Acupressure Mat {Eco-Product Review}
My own husband thought I was plain crazy when I bought this organic hemp acupressure mat. He thought my green/eco-friendly/non-GMO/organic loving self had finally gone off the deep end. The Spoonk organic acupressure mat is one of my all time favorite things. It took me several months to convince my husband to…
Chocolate Coconut Maca Muffins {Healthy Muffin Recipe}
These Chocolate Coconut Maca Muffins are a great healthy muffin recipe for kids to have on hand for busy school mornings. They are also a fun healthy snack option when you’re in a pinch….best of all your kids (or husband who eats like a kid) won’t be able to tell…
Coconut Oil
Read more
#10 – Coconut Oil Health Supplement {10 Easy Ways to Use Coconut Oil}
You may not believe this, but a coconut oil health supplement is a powerhouse of nutrition! The benefits of coconut oil are so plentiful that it’s worth incorporating this wonderful nutrition boost into your diet. Benefits of A Coconut Oil Health Supplement Coconut oil is a medium chain fatty acid…
Uncategorized
Read more
#9 – Coconut Oil Hair Treatment {10 Easy Ways to Use Coconut Oil}
If you’re looking for an inexpensive and easy way to deep condition your hair, coconut oil hair treatment is the perfect choice! Coconut oil moisturizes and protects hair from sun damage and helps replenish and re-moisturize. How to Use Coconut Oil As A Hair Treatment The easiest way to use…
Uncategorized
Read more
#8: Coconut Oil Lip Balm {10 Easy Ways to Use Coconut Oil}
Coconut oil lip balm is not like ordinary lip balm. Since coconut oil is nourishing and healing for the skin, as well as a natural exfoliant, it has the ability to leave your lips soft and supple. And perhaps extra kissable with a tropical smelling twist? 😉 Remember…LESS is More When…
Coconut Oil
Read more
#7 – Coconut Oil Lotion {10 Easy Ways to Use Coconut Oil}
Sometimes the simplest things in life are the most effective, such as using coconut oil lotion for intense skin benefits. Did you know that coconut oil makes a really lovely stand in for regular lotion and in fact has WAY more benefits? Benefits of Using Coconut Oil Lotion…There are SO…