Almond Coconut Pancakes Recipe

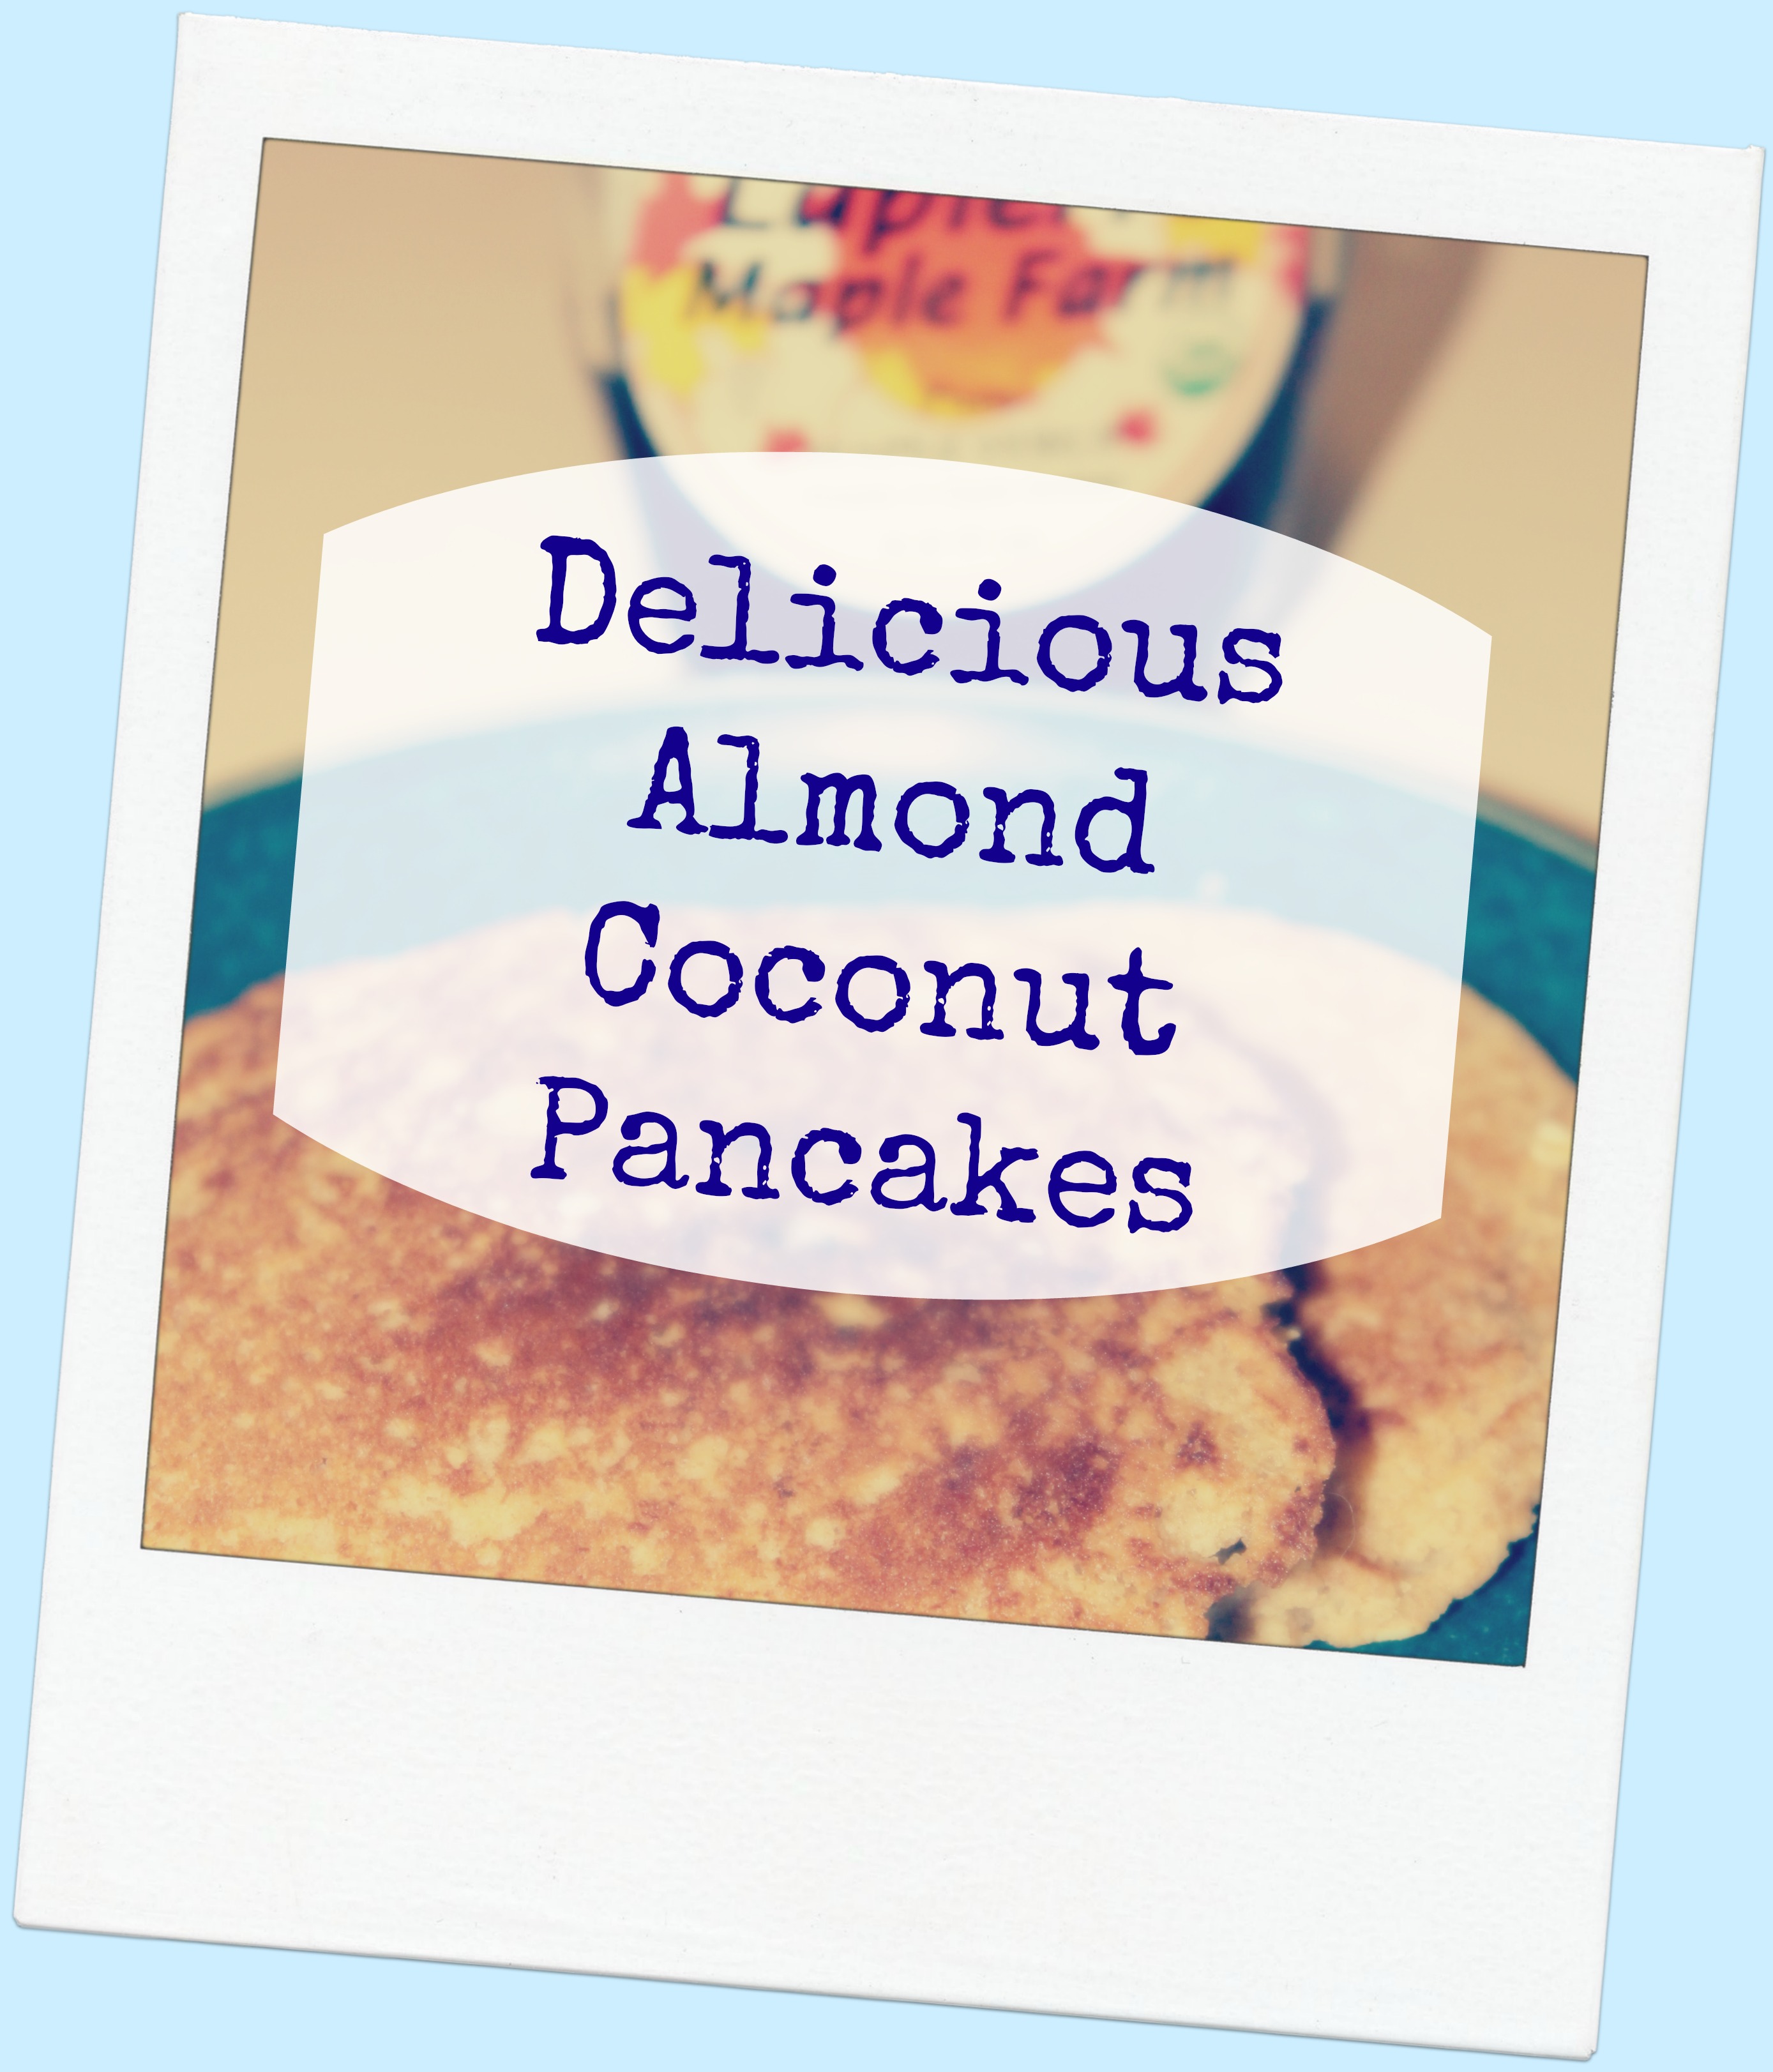
I took my very favorite pancakes and re-invented it into this delicious healthy almond coconut pancakes recipe. The results are scrumptious!

These are a great way to sneak nutritious ingredients into breakfast for picky kiddos. I now make the dry portion in bulk for my own super fast homemade baking mix for mornings when we are in a rush.

almond coconut pancakes recipe

Ingredients for Almond Coconut Pancakes 

  • 3/4 cup coconut milk
  • 2 tbsp organic champagne or white wine vinegar
  • 1/2 cup organic spelt flour or whole wheat flour
  • 1/2 cup ground almond meal
  • 2 tbsp organic cane juice
  • 1 tsp aluminum free baking powder
  • 1/2 tsp baking soda
  • 1/2 tsp himalayan pink sea salt
  • 1 egg
  • 2 tbsp coconut oil, melted
  • coconut oil for the pan
  • oats – optional, for thickening
  • toasted coconut – optional, for sprinkling

 Almond Coconut Pancakes Recipe Instructions

  1. Combine milk with vinegar in a medium bowl and set aside for 5 minutes to “sour”.
  2. Combine flour, sugar, baking powder, baking soda, and salt in a large mixing bowl. 
  3. Whisk egg and melted coconut oil into “soured” milk with a fork. (TIP: if you whisk the egg and warm coconut oil together first and then slowly whisk in the soured milk, the coconut oil will not clump and your liquid mixture will be smooth.)
  4. Pour the flour mixture into the wet ingredients and whisk until lumps are gone.
  5. Heat a large skillet over medium heat, and coat with coconut oil. Pour 1/4 cupfuls of batter onto the skillet. Sprinkle oats on top of the batter side of the pancake for extra thick and fluffy pancakes. (This REALLY works! It’s kind of amazing!)
  6. Cook until bubbles appear on the surface. Flip with a spatula, and cook until browned on the other side.
  7. Serve with organic maple syrup or with plain yogurt and fresh berries. Or both if it suits your fancy. Sprinkle toasted coconut on the top. Yum! 🙂

I learned the trick of adding dry oats to the bottom of pancakes from my great aunt when I was a kid. It never fails to make your pancakes EXTRA fluffy!


Chocolate Coconut Maca Muffins {Healthy Muffin Recipe}

These Chocolate Coconut Maca Muffins are a great healthy muffin recipe for kids to have on hand for busy school mornings. They are also a fun healthy snack option when you’re in a pinch….best of all your kids (or husband who eats like a kid) won’t be able to tell that they’re good for you!

You can feel good about the healthy fat from coconut oil and the low amount of added sugar, with only 1/4 cup of cane juice for the entire recipe. They are not officially gluten free because of the spelt, since spelt is a distant cousin of wheat, but for those without serious gluten sensitivities, they are a great alternative to a traditional muffin.

These chocolate maca muffins also double and freeze well. I like to keep a stash of healthy homemade muffins on hand in my freezer for those mornings when I hit the snooze button one too many times. Or just for any morning. Or afternoon. Because they’re yummy. 🙂

Ingredients:

  • 1/2 cup organic extra virgin coconut oil
  • 1/4 cup cane juice
  • 1/2 banana
  • 1 and 1/4 c organic unsweetened applesauce, room temp
  • 1 tsp vanilla
  • 1/4 cup filtered water, room temp
  • 2 eggs, room temp
  • 1 cup organic spelt flour
  • 1/2 cup almond meal
  • 1/2 cup unsweetened cocoa powder
  • 1/2 cup organic ground flax / flax meal – (can also sub chia seeds for an energy boost and a slight crunch to the muffins)
  • 2 tbsp organic raw maca powder
  • 1 and 1/2 tsp baking soda
  • 1/2 tsp himalayan pink sea salt
  • 1/2 cup organic unsweetened coconut
  • Optional: for an extra yummy variation, add 1/3 cup chocolate chips to the maca muffin batter.

.
Directions for Chocolate Coconut Maca Muffins:

  1. Preheat oven to 350°. Line muffin pan with parchment paper liners.
  2. Cream together oil and cane juice using mixer. Keep mixer on while adding the following in order: banana, applesauce, vanilla, and filtered water. Mixture will get creamy and smoother/frothier.
  3. Add eggs, one at a time, while keeping the mixer on until both eggs are mixed in. (Note: If your eggs, water and applesauce aren’t at room temp, the mixture will be lumpy instead of creamy. The end result will be the same, but it won’t look the same along the way.)
  4. In a separate bowl add all the dry ingredients, except the shredded coconut, and mix with a fork to combine.
  5. Add dry ingredients to the wet ingredients and mix gently by hand until fully combined, being careful not to over mix. The texture will appear mousse-like.
  6. Gently fold in the shredded coconut (and chocolate chips, if using).
  7. Spoon batter into the muffin pan. I find an ice cream scoop will yield quick and clean results when spooning batter.
  8. Bake for 15-20 minutes, depending on your oven. Test for doneness by inserting a fork. Maca muffins should be moist.
  9. Makes 12 healthy maca muffins.

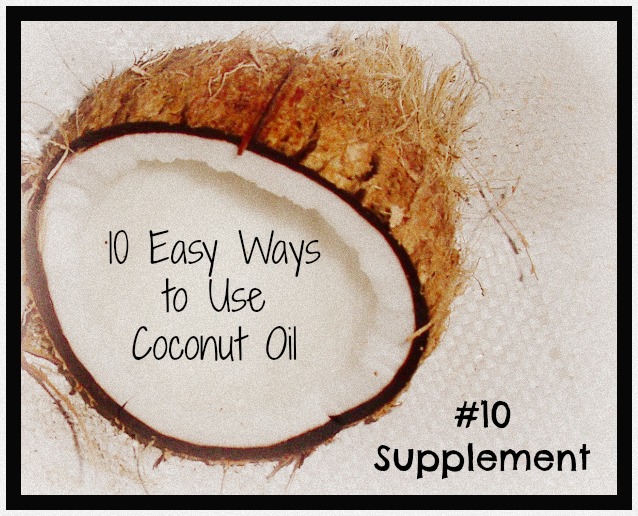
#10 – Coconut Oil Health Supplement {10 Easy Ways to Use Coconut Oil}

You may not believe this, but a coconut oil health supplement is a powerhouse of nutrition! The benefits of coconut oil are so plentiful that it’s worth incorporating this wonderful nutrition boost into your diet.

Benefits of A Coconut Oil Health Supplement

Coconut oil is a medium chain fatty acid and provides your body with the healthy and beneficial kind of fat that you need. This kind of fat turns to energy quickly and doesn’t settle in your body as stored fat. A coconut oil health supplement helps aid the body with important functions such as digestion, weight loss, and also helps to really beef up the immune system. The lauric acid found in coconut oil helps to increase the body’s immunity agains viral and bacterial infections. It also helps fight damage from free radicals and gives you a natural energy boost.

coconut oil supplement

How To Use a Coconut Oil Health Supplement

The great news is, taking a coconut oil health supplement is super easy on your wallet and on your palette! A jar of high quality cold-pressed, extra virgin coconut oil should run you between $6-10. There are several ways to add a coconut oil health supplement to your diet. The first is to buy pills filled with coconut oil. If you go this route, make sure to get one that is pure and unadulterated, with no fillers. I will say, however, that it’s cheaper to make your own at home with empty gelatin capsules, such as this GMO-free brand.

Another quick and convenient option is to just take about 1tsp-1tbsp per day by spoon. I do this with my kids and they love it! If you can handle this, you can also add 1 tbsp chia seed to the coconut oil for all day long energy.

However, if a spoonful of coconut oil just isn’t your cup of tea (or oil) ;), then you can drizzle it over salads, quiches, spread it on toast or sandwich bread, or melt it in a bowl of soup. Or my personal favorite…a teaspoon in your morning coffee. You’d be amazed at how good this tastes considering the fact that it sounds abhorrent! It’s actually quite delicious and you’ll be pleasantly surprised by how good it tastes and by the bump in energy you experience on days that you ingest it early in the day.

Learn More about Coconut Oil Health Supplements

If you’re fascinated, as I am, about all of the many benefits of coconut oil as a health supplement, then I highly recommend you pick up a copy of this terrific book, “The Coconut Oil Miracle“, by  Bruce Fife. I’ll be reviewing it in detail on here at a later date, but it’s worth owning a copy. The health benefits I’ve highlighted in this blog post are merely the tip of the iceberg on reasons why a coconut oil health supplement is so beneficial.

Eco Product Review: GoBites Healthy Snacks

One of the things I love doing is reviewing products. Since I’m always trying new things anyway and I love learning about the latest and greatest, most efficient, most effective, and especially the most healthy and green options out there, I decided that I’m going to start posting “Eco-product reviews” more frequently to help others make better choices. We all have limited finances and want to use them wisely, so hopefully these will help another sister (or brother) out.

First up…GoBites healthy snacks! I found this FANTASTIC company through a deal on PlumDistrict and it was one of those deals that was a no-brainer to try out. Basically, GoBites is a company that offers healthy, mostly organic snacks in 1-portion sized containers on a monthly subscription program.

It’s pretty cool. You can customize the healthy snacks you receive based on your preferences and dietary and allergy restrictions. They give you a quick survey and then pick the snacks they think you’ll like best to start with, but you have the freedom to mix and match and change things up however you like. I was impressed though…they picked exactly what I would have picked and I chose not to change anything. 

My thoughts? Well, the snacks are REALLY delicious! They are healthy, nutritious, balanced, and mostly organic, so they are snacks I can really get behind and feel good about feeding my family. I love it!

Would I continue my GoBite subscription each month? That’s a tough one…with unlimited finances, yes, for sure. The price is a little higher than I would like on a limited budget, but it is reasonable. Each snack box ends up being $1.99. So when I compare that to what I’d pay for say an energy bar, then it seems pretty good. Total cost is $27.86 for 14 boxes and that’s the shipped price…you don’t pay extra for shipping.

So I feel like it’s an overall good value for the money, especially given that healthy snack options are few and far in between…especially ones that taste delicious and require limited time on your part. So GoBites fits the bill in all these areas for people on the go who want better options.

My overall thoughts: I feel like the value of the product is pretty decent for what you get….not to mention the convenience is really up there. You get pre-portioned out healthy snacks that you can feel great about eating and they come with built in variety so you don’t get bored. I love it!

  • Value is pretty good for a really awesome product and shipping is included…very nice.
  • Convenience is through the roof! Quick shipping (mine shipped out the next day) and handy pre-packaged individual portions in cute little boxes.
  • You can customize your subscription however you like, cancel it, resume it again or have a one-time delivery with the click of a button.
  • Healthy snack options, organic, tasty…win, win, win!

And yes, I would consider keeping up my subscription each month. Right now, I’ll probably stick with the occasional one-time delivery that you can do. This would be perfect for summer snacks…to throw in a bag when you’re heading to the beach or the pool, or also perfect for a road trip. So next time we’re heading on a road trip, I’ll definitely make sure to order a box. They are pretty handy to have on hand for those snack time emergencies.

My favorites so far are: Mayan Treasure, Path to Tibet, Chocolate Monkey, Apricot Gluten Free Granola and Jack of All Fruits. (I love the names!)

Negatives? I’m still looking for them. I’ve gone through half of my box and so far I’ve loved every GoBite variety that I’ve tried, but if that changes, I’ll be sure to update it here. So far, everything I’ve experienced is positive. (UPDATE: I’ve now finished the entire box and I daily miss having a GoBites snack to grab when I’m getting the hungries. I’m pretty seriously considering keeping my subscription up each month. Especially now that I’ve been pricing healthy snacks at WholeFoods…this is not a bad deal at all!)

Want to check it out for yourself? Here is the website: www.GoBites.com and keep an eye on PlumDistrict…you never know when they’ll repeat a sale and you can try them at a discount.

Perpetual Healing Soup – Homemade Bone Broth Recipe

This year, our family has taken to making a homemade bone broth recipe when we’re starting to feel under the weather.

Did you know that bone broth is sometimes referred to as “Jewish Penicillin”? 

The effect of drinking this homemade bone broth recipe as a feel-good booster have been dramatic. We’ve actually had a couple of times where one of us was under the weather enough that we probably would have gone to the doctor and we starting downing bone broth like there’s no tomorrow and noticed such an improvement that we ended up not going to see a doctor. Now my husband requests it at the first sign of a cold.

Here’s my recipe for homemade bone broth. This recipe for homemade bone broth has become one of our favorites.

Below are the ingredients for perpetual healing soup. It’s always best to use organic if you can. The beauty of this homemade bone broth recipe is that  you can adjust these for personal preference or tailor it to your own liking. The one essential ingredient is the bones from a chicken. Do not use bullion in place of the chicken bones. The minerals from the bones are a major part of what make this a healing recipe.

Ingredients:

  • bones from a chicken (we use rotisserie as a time saver, though if I’m on my game, I’ll roast my own chicken and then use the bones for the soup)
  • garlic cloves (3-6, depending on preference, we prefer more because of garlic’s health benefits)
  • 1 cup of organic baby carrots (or 3 full-size carrot)
  • 2-3 onion, chunked up (can sub a few shallots if preferred)
  • small handful of whole peppercorns (we use multi-color)
  • 1/4 tsp red pepper flakes
  • 1/2 inch piece of fresh ginger, grated and sliced (can substitute a few pieces of dried galangal for an asian twist)
  • organic dried grated lemon peel (you can get this in many bulk spice sections or fresh lemon zest also works)
  • 2 bay leaves (I freeze fresh bay leaves and keep them on hand in my freezer)
  • small bunch of Italian parsley (cilantro also works)
  • optional: handful of thick leafy greens like kale, spinach, beet or turnip greens (my favorite). you’d be surprised at the flavor greens add!


Directions:  This homemade bone broth recipe is so easy that all you need to do is dump all of the ingredients into a cock pot and fill it up with water. Filtered water is best. (We use Aquasana and they have an amazing deal on drinking water filters right now: Save 30% on all drinking water filter systems, or 50% if you buy them with Water for Life. WFL is their auto ship for filters option.)

  1. Turn on high for 4 hours or low for 8 hours.
  2. Strain the broth through a metal coffee filter or very fine sieve to strain out the junk.
  3. After it cools, skim the remaining layer of fat of the top of the soup and voila…healthy bone broth. It’s not only nutritious, it’s delicious and hits the spot when you’re feeling under the weather.

Make it perpetual

Then, keeping everything in the pot, add more water and repeat the process. You can use the same chicken bones and continue making healing perpetual soup for several days in this way. You will need to occasionally remove the old veggies and spices and add new ones. I do this every couple days.

I make as much of this homemade bone broth recipe as I can and then freeze the leftovers so I don’t have to buy chicken stock at the store. Even though the flavor is stronger than most store bought chicken broths, it works great in any recipe and the flavor does not overpower the dish you’re making. It especially works well as a base for other veggie soups.

Have a variation on bone broth? Let us know your best variations in the comment section below.