Glu6 Eco Friendly Glue {Eco-Product Review}

When Glu6 contacted me about the possibility of doing a product review for their eco friendly glue, I was really excited. I’ve been searching for a glue alternative for a while without much luck. I was able to test 2 different Glu6 products, the paste and the gel.

This review actually took me a lot longer than one of my normal eco product reviews. I wanted to really give Glu6 a good round of testing on a variety of different surfaces and see how it held up over time. Since I don’t normally go through my week happily glueing things, it took some time to find things that I needed to fix or create using glue.

Eco Friendly Glue…Made From 100% Recycled Styrofoam

In case you’re wondering (I was!), the “6” in their product name comes from the recycling number for styrofoam…6. The founders of Glu6 left corporate America to pursue their dream of pursuing a business that would make a positive impact on the environment and thus, Glu6 was born. Glu6 is made from 100% recycled styrofoam sourced from businesses in the San Francisco Bay area.

Glu6 does not add unsustainable or toxic ingredients to make their products. They are 3rd party certified as a non-toxic glue.

DID YOU KNOW?

Each year Americans throw away 25 billion (yes, BILLION) styrofoam cups…the equivalent to 15 Empire State Buildings! And each one of those styrofoam cups will still be in the landfill 500 years from now.

Eco Friendly Glue Paste

I tested the paste out quite a lot. To give a comparison, I would say it’s probably similar in texture to something like rubber cement. Although I’m fairly certain that it won’t roll up into a ball if you paste it on your hands…(like we all did as kids), so don’t try that at home! 😉

  • The eco friendly paste is meant to be used on porous or semi-porous materials. It worked great on an old canvas wrapped frame that I needed to repair. It didn’t work as well on some bows I made for my kids. Those held ok, but needed to be re-glued occasionally. In short, I wouldn’t use the paste for anything fabric related again. I think this is partially b/c I was using the porous glue, but my bows needed to be glued onto non-porous clips. So that was the part that came undone after a period of time. Also, on the super thin fabric bows, the glue was just too much for it and seeped through. I don’t think this is the fault of the glue though, I think I just needed fabric glue or hot glue for that project…but I wanted to test it out anyway. In short…I’m not sure what to do for projects where you want a non-toxic adhesive and need to glue a porous object to a non-porous object. Maybe Glu6 has a plan for this scenario in the works? Hope so!
  • There’s a cure time of 24 hours for any project. I found this to be essential. The times that I tried to use something I had glued earlier than the recommended cure time, were not as successful. I noticed a big difference when I actually left my repairs/crafts alone for the full 24 hours before using. So read the directions and follow them! I tried it both ways for testing purposes.
  • Smells awesome! Not that you’d want to be a glue-sniffer, but if you did you’d probably pick Glu6 as your glue of choice. Seriously though, it’s got a nice orange citrus smell that doesn’t stink up your house. Nice change from the toxic glue smells we are used to!
  • One small wooden spreader was included with my jar of the paste. Rather than buy more, I repurposed some old chopsticks that I wasn’t using as alternate spreaders and it was especially useful for glue small areas. Glu6 has now added a brush applicator as an update to the jar that I tested.

Eco Friendly Glue Gel

I also had the chance to review the Glu6 Gel. The product line has since expanded into more specific gels for specific projects. The multi-purpose one that I reviewed is no longer for sale on the website and I noticed that they now have 3 different eco friendly glue gel options, one for tile and ceramics, one for gem and rhinestones and a third one for glass and ceramics. They’ve also recently added a recycled school glue to their product line.

I tested the gel on rhinestones for a craft project and it worked great on those. I also used it to make a snow globe project with my kids. For our snow globe, we needed to glue plastic legos to a glass jar, which we then filled with glitter and water and then glued the lid shut. The glue dried clear (which was nice for the bits I messed up on), and it worked great for our snow globe. It lasted for months with lots of shaking and the water never leaked.

I was also able to test the gel on several other non-porous small repair items and experienced no issues or problems with the integrity of this non-toxic glue.

The Verdict on Glu6 Eco Friendly Adhesive?

After a few months of testing Glu6, I am pleased with the results. When my current bottles run out, I‘ll definitely be purchasing more to keep on hand. This will be my new go-to and I’m really happy to have an eco friendly adhesive alternative.

My other take away is this…As with any glue, you know that you can’t use one glue for everything. Don’t expect a single bottle of Glu6 to be your one stop shop for adhesives. Use it for what it’s meant to be used for and it makes a solid replacement for your conventional toxic glues.

*Disclaimer: As with all of my reviews where I’m asked by another company to review a product, I only agree to do reviews if the company in question is amenable to my completely candid and honest review of their product. I will also only do product reviews that are in alignment with what this blog is all about. If I don’t think a review will help my readers, I won’t do it. The opinions in this post are my own and I was not paid by Glu6 for this post, although I was provided the two samples of eco friendly glue to review.


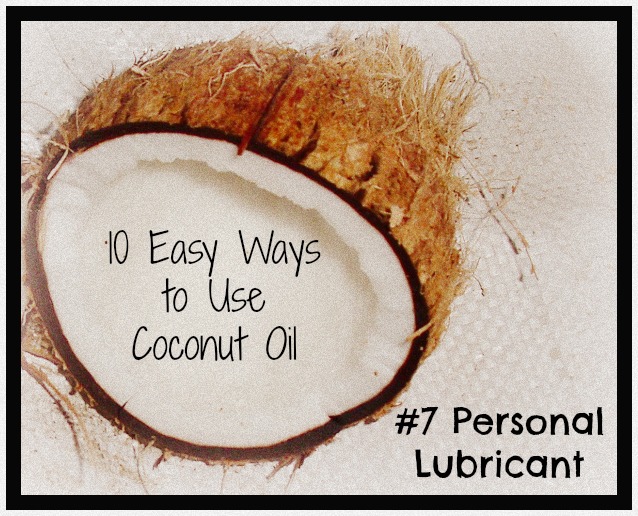
#6 – Coconut Oil Personal Lubricant {10 Easy Ways to Use Coconut Oil}

A coconut oil personal lubricant…are you rubbing your eyes and wondering if you read that right?
Yep, I said it…you can use coconut oil as a personal lubricant in place of all those (really gross and really synthetic) bottled options you normally find in the “family planning” section of your local pharmacy. Let’s just say, that the scent and the texture are both a whole lot more pleasant! Coconut oil also has a much reduced  gross out factor than the conventional options we’ve always heard were bedroom necessities. I’m pleased to tell you folks…those old guys are a way of the past!
.
Enter coconut oil as a personal lube….it’s cheaper and it smells better. Plus…it’s not going to harm you, cause skin irritation, and it can double as a massage oil. It’s also not going to get all sticky and gooky on you either, but it does the job nicely.
.
Another benefit of using coconut oil as a non-toxic lubricant is that if you’re trying to get pregnant, it does not inhibit things from “happening” shall we say. Some conventional lubricants can inhibit conception by changing the PH balance in those essential “areas” and some can actually be toxic to the sperm or inhibit the travel of sperm to it’s goal. So if you’re in baby-making mode, toss out those old bottles and go au natural instead. (Side note: olive oil will also work, but coconut oil is easier to apply if it’s in a solid state.)
.
So yes…you can use coconut oil as a personal lubricant. I don’t really need to give you directions, right?
.
You can use scented or unscented, depending on your fancy.

Important Tip on Using Coconut Oil Personal Lubricant

Keep coconut oil designated for this “special” purpose in a separate container from the coconut oil you use for everything else!  You really don’t want this to get mixed up with coconut oil you use as a lip balm (yuck) or night cream, do you? 🙂
.
You can repurpose old squeeze bottles if your coconut oil remains liquid at room temp in your climate. If not, a wide mouth glass jar is ideal to keep on hand for when you and your partner are feeling a bit randy!

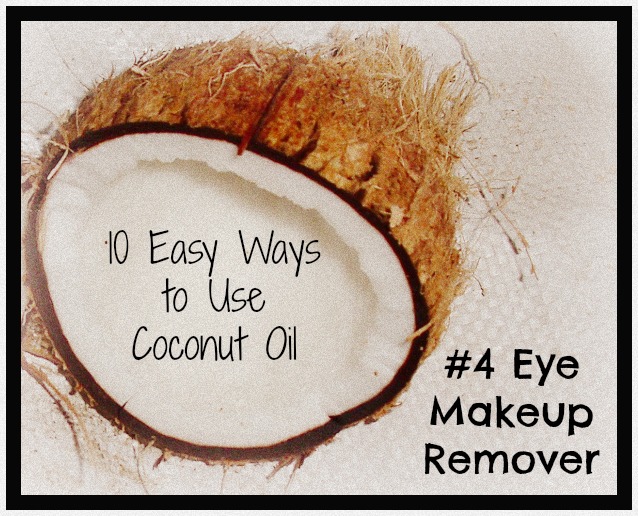
#4 Coconut Oil Eye Makeup Remover {10 Easy Ways to Use Coconut Oil}

Remember that thick white greasy eye makeup remover your mom used to use every night? Well, coconut oil eye makeup remover is nothing like that!
.
One of the biggest chores of my day is removing makeup. I hate it so much that many days I opt not to put makeup on in the first place just so I don’t have to take it off again! But I do love the look of a good mascara. (Lotus is my fave).
.
Let’s face it, when you’ve been up with kids all night and are completely exhausted, sometimes your eyes need that little perk just so people don’t stare at you pitifully and say, “Oh honey. You look so tired!” So on those days where eye makeup is a must, coconut oil eye makeup remover is also a must!

coconut oil eye makeup remover

How To Use Coconut Oil Eye Makeup Remover

Coconut oil is such an easy way to remove built up eye makeup and condition the eyes at the same time.
  1. Simply glob some coconut oil on your eyelids and gently rub it around to dislodge built up eye makeup. (You can put it on solid and the heat of your skin will melt it easily, so there’s no need to heat it up if the coconut oil is at a solid state.)
  2.  Gently wipe off with a soft cloth – preferably an organic cotton washcloth, but any soft cloth will do.  You’ll be amazed at how much dirt, grime, and makeup comes off so quickly!
  3. For really thick makeup, you may have to repeat a second time.

Tips on Using Coconut Oil as Eye Makeup Remover

Remember, never put something ON your body that you wouldn’t put IN it! Always opt for high quality organic coconut oil, such as Omega Nutrition.
.
You can buy organic baby wash cloths (like these) or organic cotton cloth baby wipes (like this pack of 12) that work perfectly for this. Or you can purchase some really soft organic cotton fabric and cut it up yourself to make your own washrags. Any of these options do double duty for face washing with the oil cleansing method (OCM).
.
Another tip is to give yourself time to get used to using coconut oil for your eye makeup remover. It does feel a little funny at first, but it doesn’t take long to get used to it. Especially when you see how quickly it removes eye makeup without feeling harsh or abrasive.

10 Easy Ways to Use Coconut Oil…Coming Up!

I sometimes play this little game with myself where I try to decide what 5 products I would pick if I could only have 5 products forever. I can never quite decide on my exact 5, but one thing is for sure…Coconut oil is on the list no matter what! There are so many easy ways to use coconut oil…and many do not revolve around cooking.

10 Easy Ways to Use Coconut Oil

There Are Many Easy Ways to Use Coconut Oil

It’s just so incredibly versatile in so many areas of being a “greenie”, (as I’ve come to view myself over the years). Honestly, greenie or not, coconut oil is just darn good for just about anything!
.
Almost daily, I use coconut oil for something that someone in my life has never thought to use it for and I wanted to share some ideas on ways to use coconut oil with everyone. Coconut oil can be used from everything from cooking, to your beauty regime, to cleaning.
.
I just love having 1 product that serves so many purposes and it’s more than just an option for each of these purposes, it actually works really well!
.
Here’s the kind of coconut oil I use most often…it is especially good in baking because it is unscented. I love the 7 pound tub because it lasts a good long while and is much cheaper than buying a bunch of the little jars normally found at grocery stores. However, I also love the scented extra virgin organic varieties found at high end groceries stores. Both work equally well.
.
So for the next 10 posts, we’ll talk about 10 easy ways to use coconut oil…with a new use each and every post. Get excited to fall in love with coconut oil!
.
Note: I’m sorry for my extended absence. I haven’t abandoned my blog…just had an extraordinarily crazy few months where I had to put everything on a brief hiatus. Ok…now on to the fun stuff…coconut oil…get excited for tomorrow! 
.
Question: What’s your favorite use for coconut oil? Leave a comment on the blog. Maybe it will make the list!
*Photo courtesy of “umstwit” on Flikr.

10 Easy Green Kitchen Ideas

Greening up your life isn’t something most people do overnight. If you’re just putting your toes in the water, take it a step at a time. Even baby steps are a step in the right direction and will make a difference for your family and the environment. Here are some easy green kitchen ideas to help you green up your house today.

  1. Start using cloth napkinsfor meals. You can find them online or you can easily

    Make your drink more fun, fancier and greener…all with 1 straw!

    make your own out of scraps of cute fabric.

  2. Use stainless steel mixing bowls instead of plastic. They will last forever and you won’t have to worry about yucky chemicals leaching into your food.
  3. Install a Reverse Osmosis water filtration system to purify your tap water into healthy water.  A good water filtration system will remove heavy metals like lead and mercury as well as herbicides, pesticides and industrial solvents (yikes) that make their way into your drinking water supply. This is the most expensive thing to do, but is so worth it. My husband was a little doubtful when we installed ours and was skeptical that it was significantly better than our Brita filter (it is). We installed it ourselves…very easy…and a year later, he doesn’t know how we’ve lived without one for so long! We have the Aquasana one pictured above.

    Drinking Water Filters

    This is the water filter we have and we love it!

  4. Use glass containers for storing leftovers. You can get some great ones online that nest for space saving and you can also repurpose your recycling, such as old glass spaghetti sauce, peanut butter and jelly jars. One of the benefits is that glass containers will go straight from the fridge to the microwave as opposed to plastic bowls, which are not microwave safe. So you’ll save yourself the time of having to dump your food into a microwave safe dish by having glass storage containers. They also don’t stain, need to be throw away from overuse, or start flaking off on you.
  5. For an accent of class and a fun accessory, get some stainless steel straws. Yes, they sound odd at first, but once you try them, you’ll want to drink out of these fun and trendy straws all the time. Every time someone uses them at our house, they want some!
  6. Put your old plastic pitcher to the curb and repurpose it for watering plants outside and use a glass one for serving beverages to family and friends.
  7. Have you ever thought about how a coffee maker works? Hot water filtering through plastic components do not make a great combo. Full-bodied, earthy undertones with a hint of berries and chemicals? Not how I want to describe my lovely morning coffee. Use a BPA-free coffee maker, or better yet a french press, to enjoy coffee sans nasty BPA. I for one would like my coffee free of BPA, thank you.
  8. Use non-toxic cleaners, like Seventh Gen, Mrs. Meyers, BabyGanics or make your own. (I’ll be posting recipes for making your own soon.)
  9. Store sandwiches and lunch items in reusable sandwich bags, like Lunchskins , PlanetWise or SugarBooger.
  10. Replace plastic hot beverage containers for coffee and tea with stainless steel. (This is also a terrific gift idea for others that almost everyone will appreciate.) You can find some great ones with BPA free lids by Contigo (found at most major retailers).

Recycle or repurpose your old stuff rather than just tossing it in the trash. Donate to a charity, sell on Craigslist or eBay or give it away to someone in need who can’t afford to buy their own.

While most of these ideas do involve replacing something you probably currently own, you can find a lot of these items at garage sales or on Craigslist. You can also subscribe to your local Freecycle.org and list things you’re looking for and you may just get lucky and get some of these for free. (Just remember not to be too picky if you follow this route.) Don’t forget that most of these also make great items to put on your Christmas or birthday list.

Remember that going green doesn’t have to break the bank and it doesn’t happen over night. Do a little at a time and you’ll be amazed at how quickly the changes add up!